Woodstock London - 12 Dec 2020
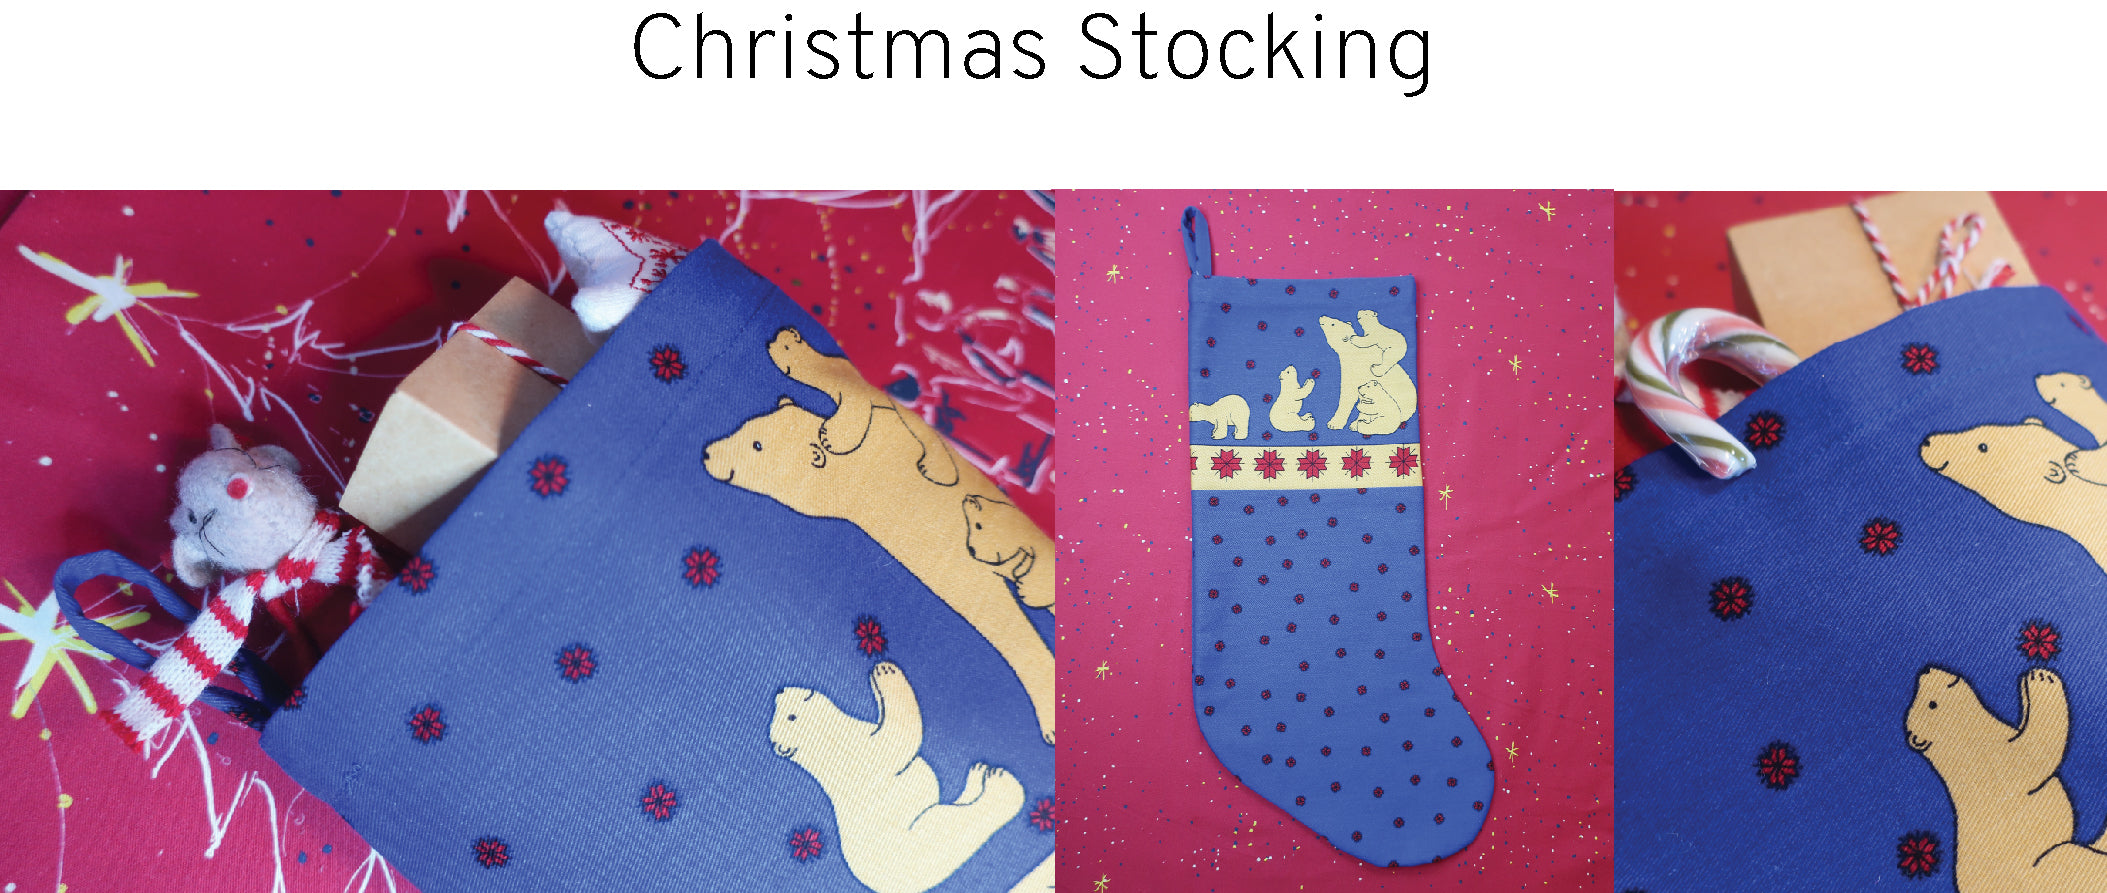
Christmas Stocking

This week's tutorial is a quick and easy guide to making your own Christmas stocking! I have used the Palava Polar bear print but you can use any fabric you choose. If it's a different print, then you won't need to add the top panel section to the stocking like we have for the cute print detail. Simply join the pattern pieces together and ignore the seam.
TO MAKE YOUR OWN YOU WILL NEED

• Fabric of your choice, it can be cotton like we have used, or cord, denim, wool, whatever you like, but slightly on the thicker side is a good idea to hold the shape better
• Matching cotton machine thread
• Paper for pattern making and tape and scissors to piece it together

1. The first thing you need to do is print out your free pattern which you can find below. This comes on three separate pages so just print at 100% and check the test square to make sure it's the right size. Really it can be whichever size you like, it's totally up to you. This pattern comes with a separate top section as I wanted to add the border detail but this is up to you. Just line up the spots and red lines, and tape the pieces together.
2. Now you're ready to cut out your fabric pieces, make sure to cut 2 of the top section and a pair of the bottom section. Lay your pattern pieces over the fabric and make sure the grain line runs parallel to the selvedge edge of your fabric, this will ensure the stocking hangs nicely once it's made. The top sections of the stocking need more attention for placing if you are using a border print. Align the pattern with the print bearing in mind that 1cm will be hidden in seam allowance at the bottom and 3cm at the top.

3. Pin the top sections to the bottom sections, right sides together, and sew along with 1cm seam allowance.

4. Press the seam flat and pin both sides of the stocking together. Sew around the edges, again with 1cm seam allowance, leaving the top free of course.

5. Snip the curves so that once you turn out the stocking and press it, the curves sit nice and flat

6. Turn the top edge over 1cm and then do a second fold 2cm deep for a nice hem on the opening. Sew the edge of the hem along the edge along the stocking opening.

7. Cut a separate strip 6cm x 10cm and iron the edges in lengthways to the centre. Then fold the long strip in half again and press and finally sew along the edge to form a strip. Then sew this to the top corner inside the stocking (heel side!) as your hanging loop.