Woodstock London - 05 Nov 2020
Fitted sheet and Pillowcase

Making fitted cot sheets is such a satisfying project, it’s quick and easy and can really make a difference to a little one’s room with minimal effort and skill. They make really great presents, especially when paired with a little pillow.
We will be using the standard cot measurements of 60cm x 120cm but I will include below how to work out the measurements for other mattress sizes too. The great thing about the standard cot version is there is literally no waste from a metre of fabric if you are using the print shown here, or one with the same width (160cm). The pillowcases are a very cute addition, but take care as they are not recommended for children younger than 3.
There are two ways to make the cot sheet, one quick and easy and one more polished version, which is perfect for gifting to a friend.
TO MAKE YOUR OWN YOU WILL NEED
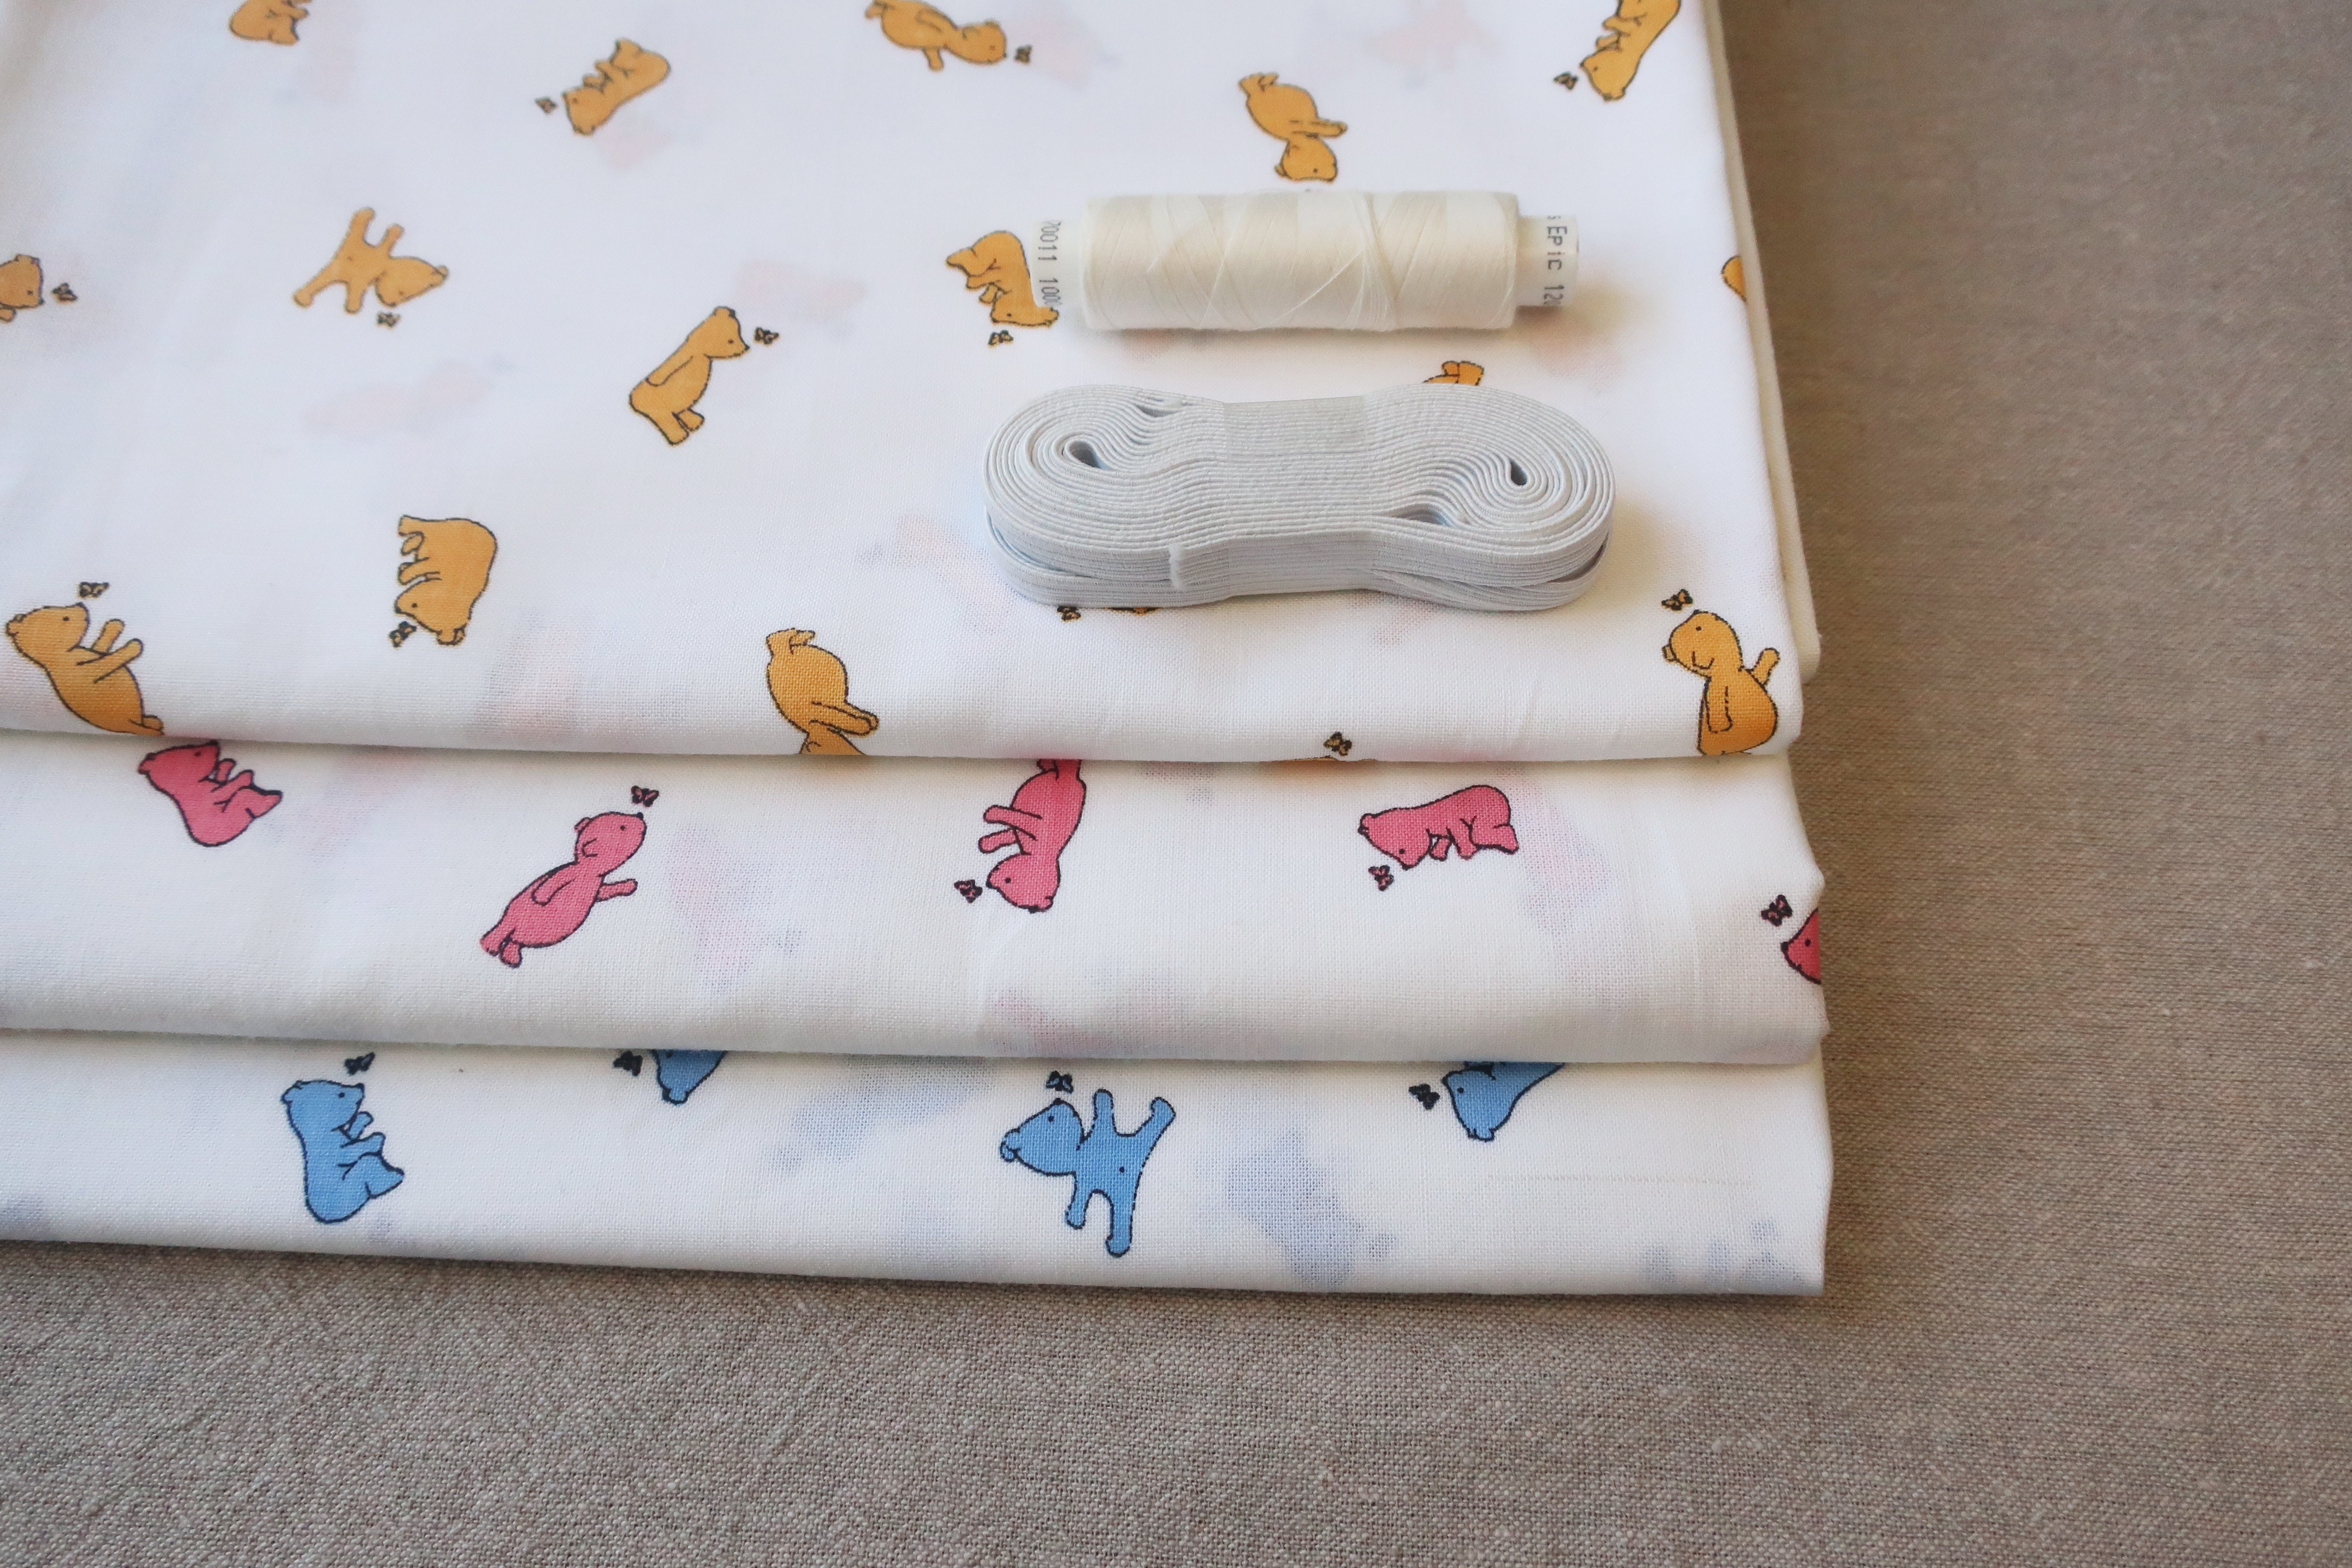
• Fabric
• Machine thread
• Elastic (approx 7mm wide)
• Safety pin
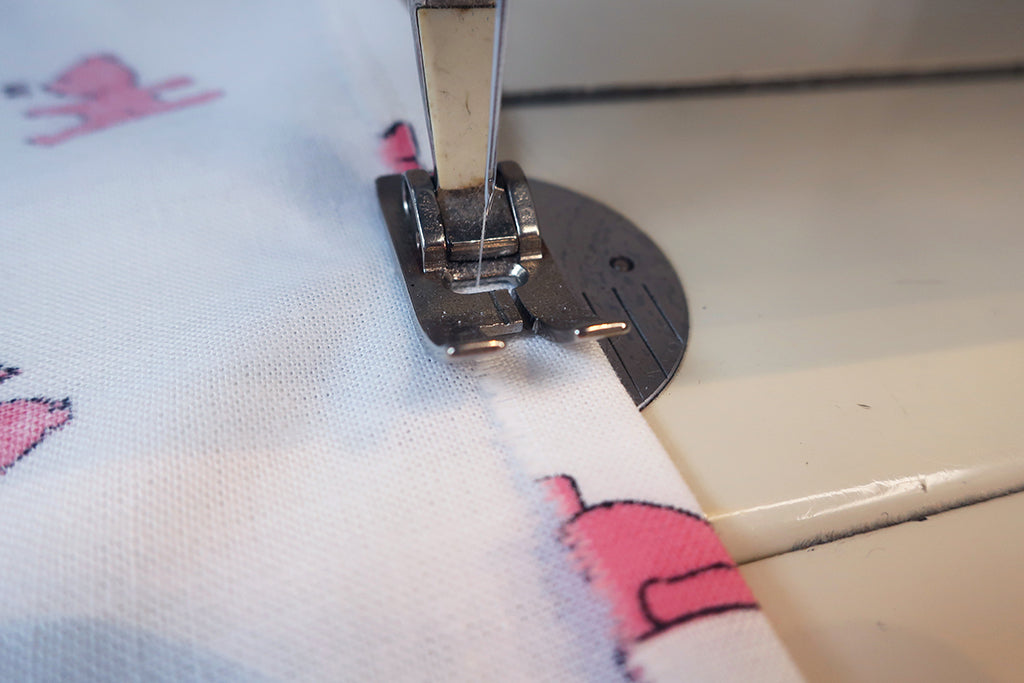
1. Starting with the quick and easy option. Cut your fabric 1m long if you are using a fabric with 160cm width. Otherwise, cut your piece in the other direction on the fabric 100cm x 160cm by first measuring and marking with pencil or tailors chalk. On the raw edges, sew a 1cm turned edge with straight stitch all along to neaten off the edges. Any selvedge is fine left as is, as it’s already finished and won’t fray. I prefer to press the raw edge beforehand as I’m a bit of a neat freak but it’s not necessary.

2. Fold your fabric short sides together and then in half again, short sides together, making sure all edges and corners match up. On the corner with no folds, mark out a square with pencil measuring 19cm up and across and cut. Put these squares aside for another project

3. Align these cut edges on each side and sew them together, no real need to pin. Do the same on all four corners. You can zig zag these seams to prevent fraying if you wish.
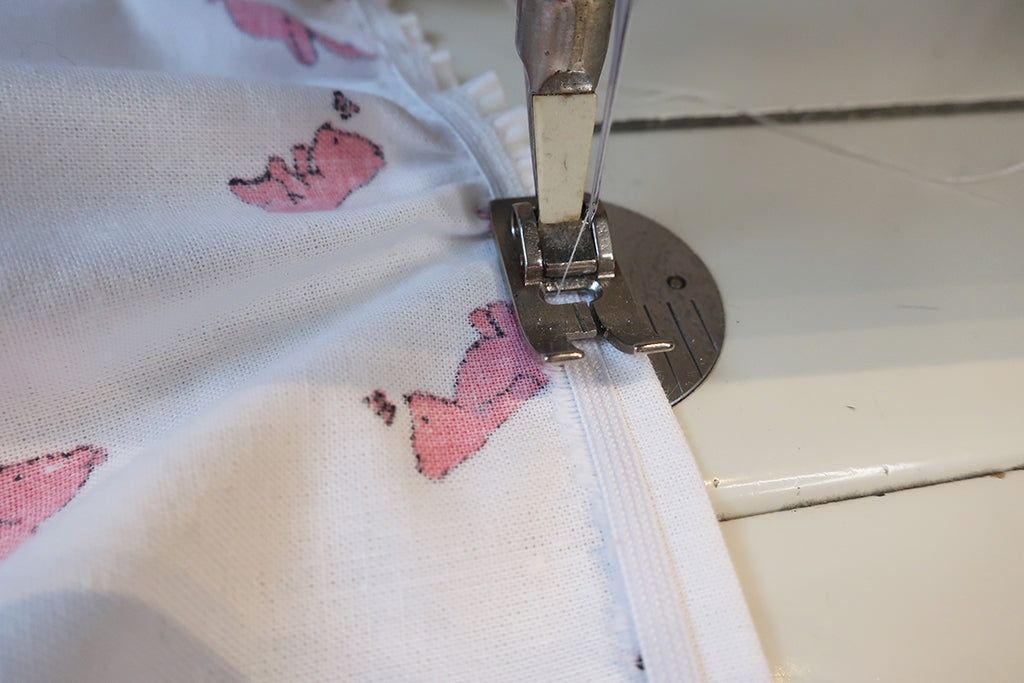
4. This is the fun bit, take your elastic and switch your machine to a zig zag stitch. I change my stitch width to about 2. 5 and same for the length. Place the elastic over the running stitch you have made, on the wrong side of the fabric, and secure the elastic with a tacking stitch back and forth on the machine and with tension on the elastic start to sew it down. You will see the fabric start to gather straight away. Keep going until you end up where you started and reverse stitch to secure and cut the elastic

5. That’s it! You just made a cot sheet!

*For the more finished version, if you wish to take a bit more time. Ignore step 2, and cut the corner squares while all edges are raw. Once this is done, follow step 3. Once the corners are sewn, press a 1cm double turn all around the edges and stitch in place leaving a gap approx 5cm wide. This is your entry point for your elastic which you will feed through with a safety pin. Keep threading all the way around and ruche the fabric as you go. When your pin comes out the hole where you started, you can tie the elastic to the starting end and sew the channel closed.

TO MAKE THE PILLOWCASE
1. I used the standard toddler pillow size 35cm x 55cm from Ikea for this project. To make the case for this, measure your fabric 37cm x 126cm and cut along the edge of the fabric, marking out with pencil and ruler.

2. On one of the short ends, make a 1cm fold and press it flat. Then, press another fold at 2.5cm and sew along close to the edge to give you a nice finish.

3. On the opposite end make a 1cm double turn and sew this along the edge. Then press a fold at 10.5cm from your finished edge.
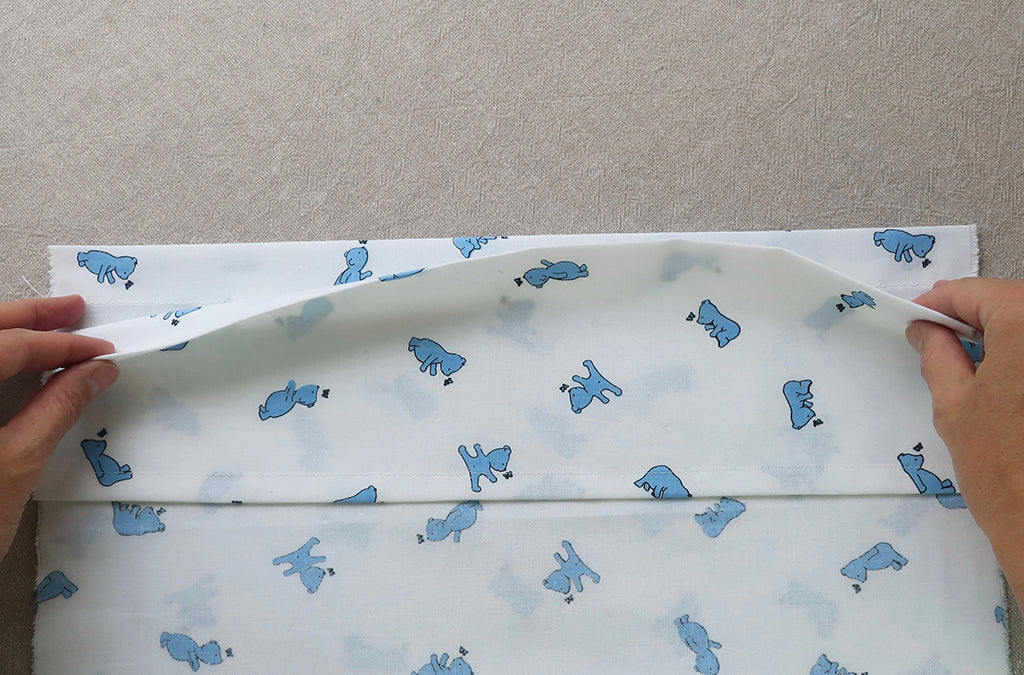
4. Line up your corners with right sides together.

5. Then sew all the way down each long side 1cm from the edge. And there you have your pillow case! The wider turning folds over your pillow to conceal it for a nice finish.

*To make a fitted sheet to your own specifications, measure the width, length and depth of your mattress. Multiply the depth x 2, add the width and add on the amount you would like tucked under the mattress, on each side, 7.5cm is good so 15cm total. This gives you the width of your cut piece, for the length, measure the length of your mattress and add the depth x 2 plus this 15cm for tucking underneath.
To cut the corners, add the depth of the mattress to the 7.5cm (half of total under hang or whatever measurement you have chosen). Cut a square from each corner using this measurement.