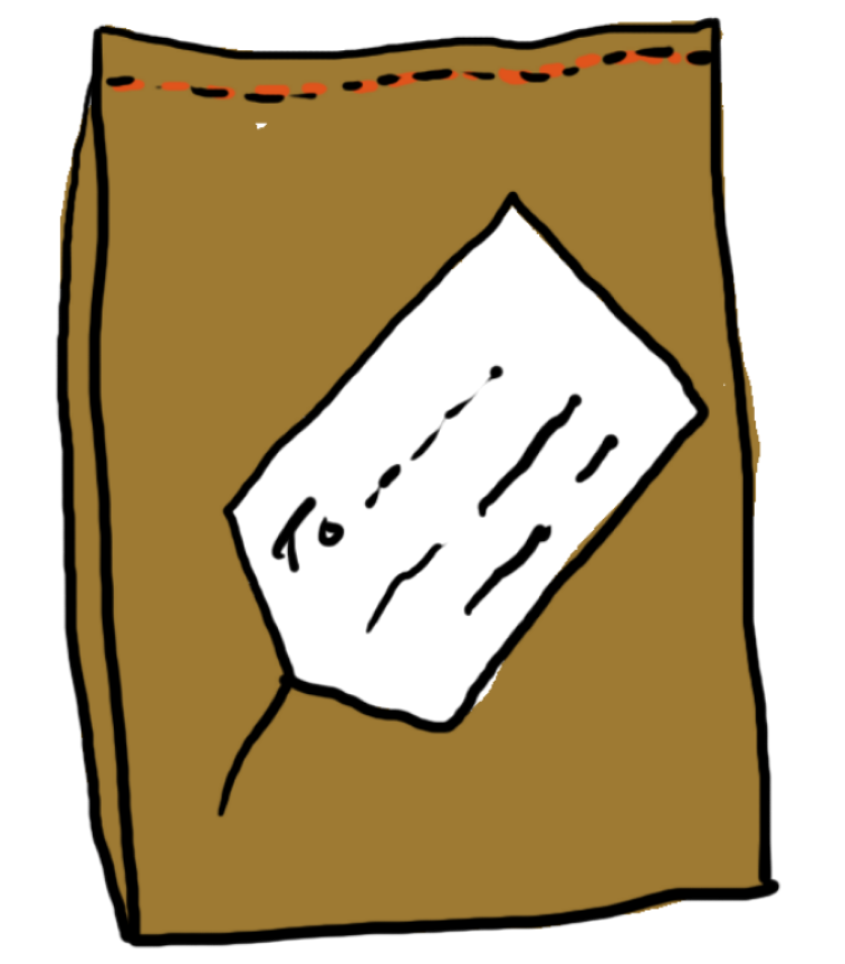
DRAWSTRING BAG

Download a step by step guide here.
YOU WILL NEED
Sewing Machine
Fabric Scraps big enough for your desired bag
Drawstring cord or ribbon
1. Using the fabric scraps cut out two equal squares or rectangles of fabric which will be the front and back of your bag. When thinking about the size, take into consideration a seam allowance of 1.5cm around the sides and bottom and a 5cm border at the top for creating the drawstring.
2. Draw a line with chalk 5cm from the top of each piece.

3. Pin your two fabric squares together with wrong sides facing in.

4. Using french seams sew the two squares together. Sew 0.5cm along the three edges, stopping at the 5cm top border. Trim edges close to stitching and then turn the bag inside out. Iron the bag flat making sure the corners are fully turned out.

5. Sew along the edges with a seam allowance of 1cm, again leaving the 5cm top border open. You have created your french seam, tidily encasing the raw edges of the fabric.

6. Leave the bag inside out. To create a channel for the drawstring to run through fold each top corner in 0.5cm.

7a. Then fold the top edge down 0.5cm and then over again to meet the line you have drawn at 5cm.

7b. Pin this down.

8. Sew along the edge of the fabric you have just pinned down, creating a channel for the cord to run through.

9. Push the cord through the channel using a safety pin or bodkin and join with the other end in a knot.

10. You have finished your wonderful bag!

Click here to try our Makeup bag project next.